Your building’s exit doors need to strike a careful balance. They must be secure enough to keep unauthorized people out but simple enough for anyone to open in an emergency. This is the exact problem a push bar is designed to solve. Also known as a panic bar, this hardware is the standard for safe and rapid egress. But its effectiveness depends entirely on a correct installation. If you need to install a push bar exit door, this guide is your starting point. We’ll walk you through each phase, from pre-installation checks to final testing, ensuring your door is both safe and secure.
Key Takeaways
- Check Compatibility and Codes Before You Start: Ensure your door is suitable for a push bar and that you understand local NYC safety regulations to prevent installation mistakes and ensure compliance from day one.
- A Precise Installation is Non-Negotiable: Accuracy at every stage, from measuring height to testing the latch, is critical for the push bar to function correctly and provide a safe exit in an emergency.
- Maintenance is an Ongoing Responsibility: Once installed, regularly test the push bar to make sure it operates smoothly and remains up to code. Consistent checks are essential for long-term safety and reliability.
What Is a Push Bar Exit Door?
You’ve probably seen them a hundred times in schools, theaters, and office buildings without giving them a second thought. A push bar exit door—also known as a panic bar or crash bar—is a special type of door hardware designed for fast and easy exits during an emergency. Instead of a traditional knob or handle, it features a long bar that you simply push to open the door.
The whole point is to allow a large number of people to exit a building quickly and safely, without needing a key or fumbling with a lock. In a high-stress situation like a fire, this simple mechanism can make all the difference. These devices are a critical component of a building’s safety plan and are often required by law for public spaces. They are a core part of any robust commercial locksmith strategy, ensuring that your business is both secure and safe for everyone inside.
The Key Parts of a Push Bar System
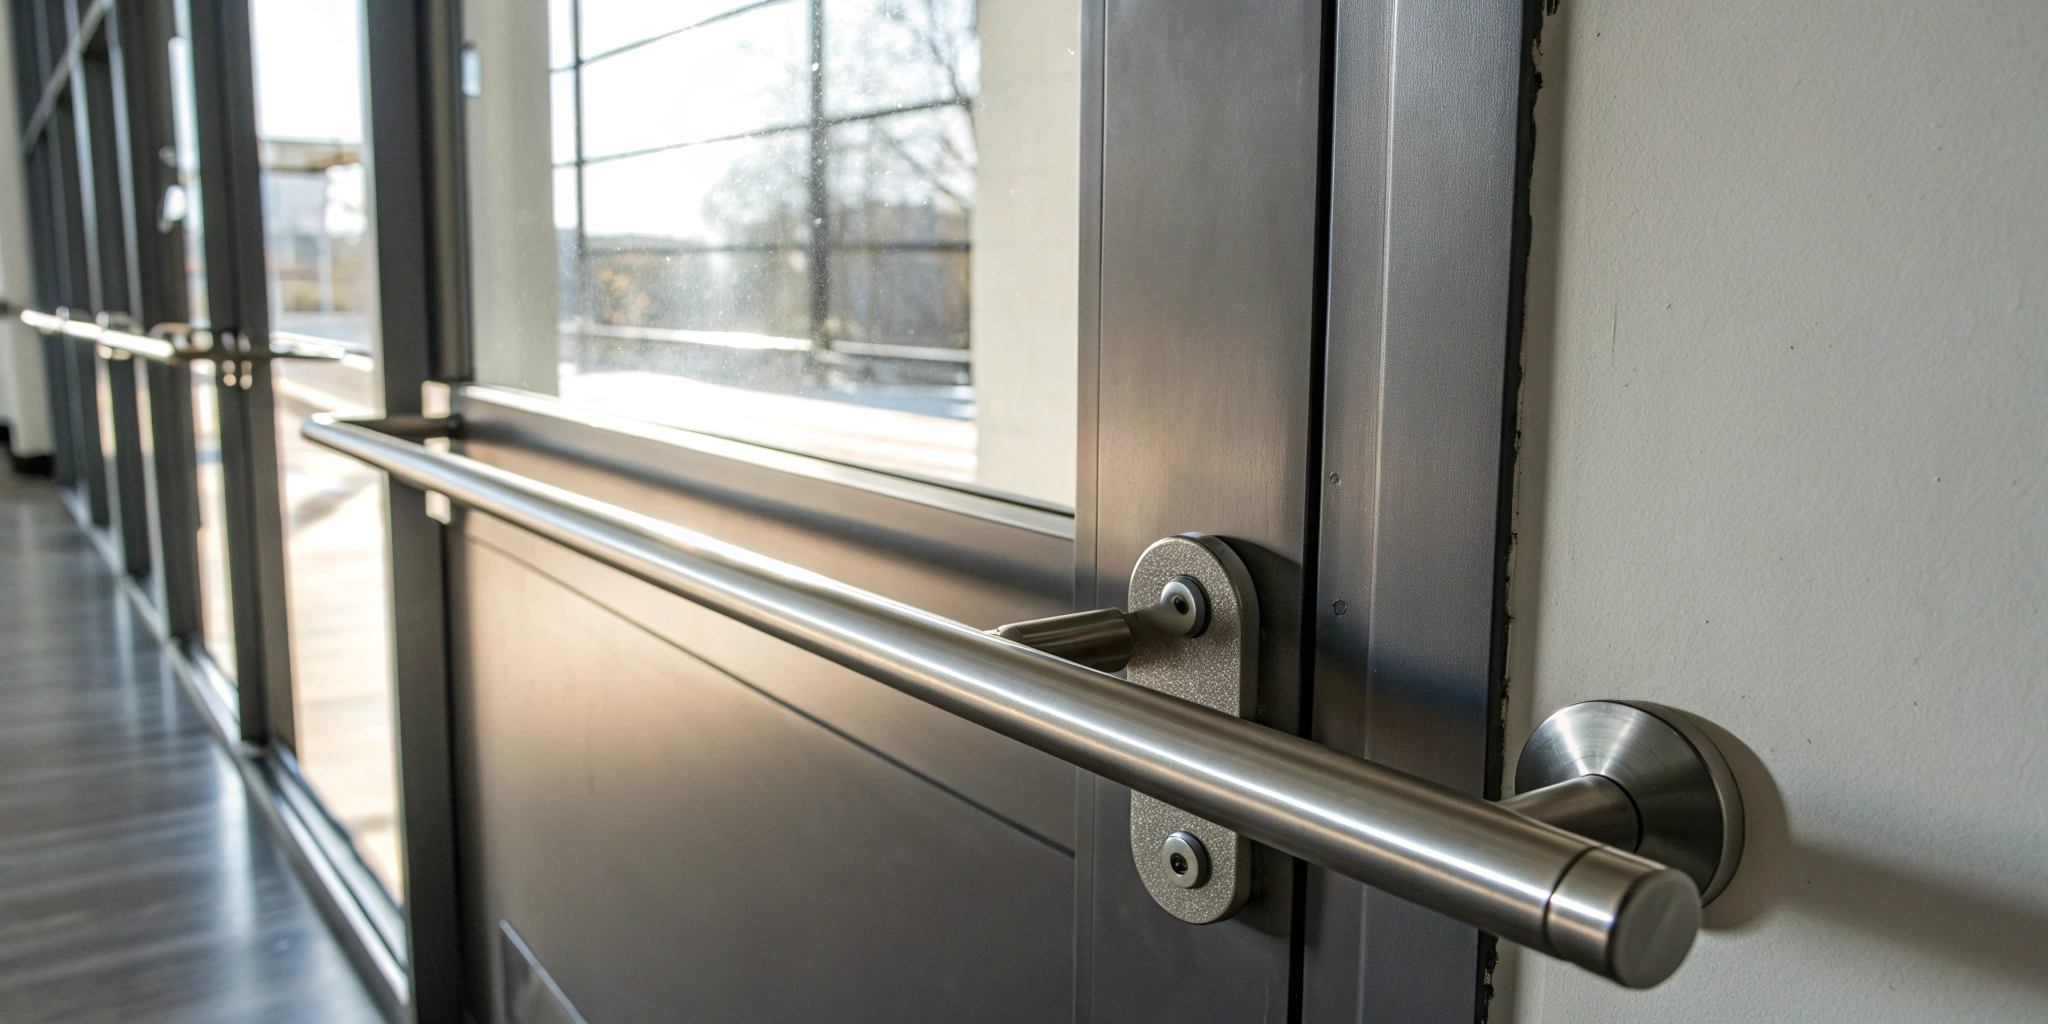
A push bar system isn’t just the bar you see on the inside of the door. It’s a complete mechanism that balances security with accessibility. The main component is the horizontal bar, or touchpad, mounted on the interior side. When you push it, it retracts the latch, allowing the door to swing open. On the exterior, the door typically has a keyed lever handle. This allows authorized people to enter from the outside while keeping the building secure. The two parts are connected, working together to create a system that’s locked from the outside but always ready for a quick exit from the inside. For a closer look at how these pieces fit together, you can find helpful videos that show an installation in detail.
How Push Bars Improve Safety in Emergencies
In an emergency, panic can set in quickly, and fine motor skills go out the window. That’s where push bars truly shine. Their design is intuitive—you just push. There’s no need to turn a knob, use a key, or even use your hands; a firm push with your body is enough to open the door. This is essential for evacuating a crowded space efficiently. Panic bars are also built to meet strict safety regulations, including the Americans with Disabilities Act (ADA), ensuring they are accessible to everyone. Because they are required on many exit doors by building codes, having them properly installed is a key part of keeping your property compliant and your occupants safe.
Common Types of Push Bar Doors
Not all push bars are the same, and the right type depends on your door and specific needs. The most common style is the rim panic bar, which is mounted directly onto the surface of the door and has a latch that secures into a strike plate on the door frame. They are versatile and can be installed on most sturdy doors. For double doors or taller doors, you might see a surface vertical rod panic bar. This type has rods that run up and down the door, latching at the top and bottom of the frame. It’s important to know that you can’t just install a panic bar on any door; the door must be strong enough to support the hardware. If you’re unsure, our team can help with professional door repair and installation.
What to Do Before You Install
Jumping straight into an installation without a plan can lead to headaches, extra holes in your door, and even safety violations. Before you unbox that new push bar, taking a few moments to prepare will ensure the process is smooth and successful. Proper planning covers everything from making sure the hardware fits your door to understanding the specific safety codes you need to follow. Getting these details right from the start saves you time and guarantees your exit door will function correctly when it matters most.
Check Your Door’s Compatibility
First things first: can you install a panic bar on just any door? The short answer is no. The type of door you have is a major factor. Push bars are designed for specific door materials, like hollow metal or solid wood, and thicknesses. Installing one on an incompatible door, like a glass or a weak residential door, can compromise both the door’s integrity and the bar’s function. You also need to consider if your door is fire-rated, as this requires specific hardware certified to withstand high temperatures. If you’re unsure, it’s always best to have a professional assess your current door setup to confirm compatibility.
Understand Local Building and Safety Codes
This step is non-negotiable, especially in a place like New York City. Every city and state has its own building and fire safety codes that dictate requirements for emergency exits. These rules cover what kind of push bars you can use, where they must be installed, and on which types of doors. Getting this wrong can result in failed inspections, fines, or a serious safety hazard. Before you begin, research the local NYC building codes or consult with an expert. A professional commercial locksmith will be familiar with these regulations and can ensure your installation is fully compliant from day one.
Gather Your Tools and Materials
While your push bar kit will come with the device and mounting hardware, it won’t include the tools you need to get the job done. To avoid stopping mid-project to find a tool, gather everything you need beforehand. You’ll typically need a power drill with a good set of drill bits, a tape measure, a pencil for marking, a level to ensure everything is straight, and a screwdriver. Having all your tools laid out and ready to go makes the installation process much more efficient and helps you achieve a clean, professional result.
Know the Correct Height and Placement Rules
Where you place the push bar on the door is just as important as how you install it. There are specific guidelines to ensure it’s accessible to everyone in an emergency. Generally, panic bars should be installed so the horizontal bar is between 34 and 48 inches from the finished floor. This height range ensures it can be easily operated by most people, including those in wheelchairs. Measure carefully and mark the placement before you start drilling. Precise placement is key for both compliance with the Americans with Disabilities Act (ADA) and for the safety of everyone in your building.
How to Install a Push Bar: Step-by-Step
Installing a push bar is a precise job, but it’s manageable if you work carefully. These devices, also known as panic bars or crash bars, are critical for ensuring a safe and quick exit during an emergency. A correctly installed push bar not only keeps your building compliant with safety codes but also provides peace of mind. This guide breaks down the process into clear, actionable steps. Remember, if you feel unsure at any point, it’s always best to call a professional. Your building’s safety is the top priority.
Step 1: Measure and Mark the Door
Accuracy is everything in this first step. Grab your tape measure and a pencil. The standard height for a push bar is around 40 inches from the finished floor to the center of the device. Measure this height and make a small, clear mark on the door. Most push bar kits come with a paper template to help you get the screw holes just right. Tape this template to the door, aligning its center with the mark you just made. Once it’s perfectly straight, use a center punch and a hammer to gently tap an indent where you’ll need to drill. This keeps your drill bit from wandering.
Step 2: Mount the Push Bar Hardware
Now it’s time to attach the main components. Start by assembling the exterior parts, like the cylinder lock and finger pull plate, and fitting them into the hole on the pull side of the door. Next, secure the main mechanism, often called the head chassis, to the inside of the door with a screw at the top. Before you add more screws, use a level to make sure the push bar is perfectly horizontal. Once it’s level, you can attach the end cover mounting bracket, mark and drill its holes, and secure it. If this part feels tricky, a commercial locksmith has the experience to get it done quickly and correctly.
Step 3: Install the Strike Plate and Lock
The strike plate is the metal piece that mounts on the door frame and catches the latch, securing the door. Line up the strike plate with the latch on the push bar mechanism. It should sit flush against the edge of the door stop. Mark your drill holes, create small pilot holes first to prevent the wood from splitting, and then secure the strike plate with screws. Don’t tighten the screws all the way just yet. Close the door gently to check if the latch bolt extends smoothly into the strike plate opening. This initial check will tell you if any adjustments are needed before you fully secure it.
Step 4: Test the Mechanism and Make Adjustments
With all the hardware in place, it’s time to test your work. Push the bar from the inside to ensure the door unlatches and opens smoothly. Do this several times. Check that the door closes and latches securely on its own without sticking. If it doesn’t latch properly, you may need to adjust the strike plate slightly to the left or right for a better fit. A properly functioning exit device is non-negotiable, as it’s a key part of your building’s safety plan for emergency situations. Once you’re satisfied with its operation, you can go ahead and tighten all the screws completely.
Common Installation Mistakes to Avoid
A few common missteps can turn this project into a headache. Here’s what to watch out for to ensure a smooth installation:
- Forcing parts: Never force a component into place. If something doesn’t fit, double-check your measurements and alignment. Forcing parts can damage the mechanism or the door itself.
- Skipping pilot holes: Always drill small pilot holes before driving in screws, especially for the strike plate. This simple step prevents the door frame from cracking.
- Overtightening screws too soon: Leave the screws slightly loose until you’ve tested the alignment. This gives you room to make small adjustments for a perfect fit.
A poorly installed push bar can compromise your security and may even require professional door repair and installation to fix any damage.
After Installation: Maintenance and Compliance
Getting your push bar installed is a huge step, but the work doesn’t stop there. To keep your exit door functioning safely and correctly, you’ll need to perform regular checks and stay on top of local safety codes. Think of it as essential upkeep for a critical piece of your building’s safety equipment. Proper maintenance ensures the push bar works when you need it most and helps you avoid potential fines or liability issues. It’s all about making sure your investment continues to protect the people inside your building.
Your Regular Testing and Maintenance Checklist
Once your push bar is installed, it’s a good habit to test it immediately and then add it to your regular maintenance schedule. A quick check can catch small issues before they become serious problems. At least once a month, press the push bar to ensure it unlatches the door smoothly without sticking or requiring excessive force. Check that the door closes and latches securely behind you. If you’ve had to make any adjustments, always re-test the mechanism. If you notice any grinding, looseness, or difficulty operating the door, it might be time for a professional door repair.
Meeting Durability and Safety Standards
Commercial-grade push bars are built to last. High-quality hardware is tested to withstand at least 500,000 uses, ensuring it can handle the daily traffic of a busy building. These systems are also designed to meet specific safety standards, including the Americans with Disabilities Act (ADA), which requires them to be operable with minimal effort. Using strong, durable materials is non-negotiable, as it guarantees the push bar remains a reliable exit point. When you work with a professional commercial locksmith, you can be confident your hardware meets these essential benchmarks for security and accessibility.
Staying Compliant with Fire Codes
Fire safety regulations are incredibly strict, and for good reason. If your push bar is installed on a fire-rated door, the hardware itself must also be fire-rated. Using the wrong type of device can void the door’s fire rating and put you in violation of local building codes. It’s crucial to remember that regulations can differ between cities and states. Always check the specific fire codes for New York City to ensure your installation is fully compliant. This step is vital for protecting your property and, more importantly, the people who use it every day.
When It’s Time to Call a Professional Locksmith
While some maintenance is straightforward, installing and repairing push bars requires precision and expertise. An incorrect installation can compromise your building’s security and fail during an emergency. If you’re ever unsure about the process, or if the mechanism feels off, it’s always best to call a professional. A qualified locksmith can guarantee the push bar is installed correctly, meets all safety codes, and functions perfectly. For peace of mind and expert service in NYC, our emergency locksmiths are available 24/7 to help with any installation or repair needs.
Related Articles
- Artificial Intelligence In Security (Guide)
- Beware Of Scams: Common Tricks Targeting Homeowners
- Locksmith Services
Frequently Asked Questions
Why is a push bar required instead of a regular door handle? A push bar is designed for speed and simplicity during an emergency. In a panic, people don’t have to think about turning a knob or using a key; they just push. This intuitive action allows large groups of people to exit a building quickly and safely, which is why building codes often mandate them for public spaces and commercial buildings.
Can I install a push bar on any type of door? Not every door is suitable for a push bar. The door needs to be strong enough to support the hardware, typically a solid wood or hollow metal door. Installing a push bar on a weak or incompatible door, like one made mostly of glass, can damage the door and cause the exit device to fail. It’s also critical to use specific fire-rated hardware if your door is fire-rated.
Is it okay to install a push bar myself? While it’s possible to install a push bar on your own, it’s a job that requires precision. An incorrect installation can lead to a door that doesn’t latch securely or, worse, doesn’t open in an emergency. Hiring a professional locksmith ensures the hardware is installed correctly, functions smoothly, and meets all local safety and building codes.
How do I know if my push bar is working correctly? You should test your push bars regularly, at least once a month. A properly working push bar will unlatch the door with a smooth, firm push without any sticking or grinding. The door should also close and latch securely on its own after you pass through. If you notice any issues, it’s best to have it inspected and repaired right away.
What happens if I don’t follow local safety codes for my exit doors? Failing to comply with local building and fire safety codes can have serious consequences. You could face significant fines, fail building inspections, or even be held liable if an accident occurs. More importantly, a non-compliant exit door creates a major safety hazard for everyone inside your building.
Need professional help in NYC? Contact Golden Key Locksmith NYC for Commercial Door Services or Metal Door Installation. Available 24/7 across Manhattan and all NYC boroughs.